Tuesday, 23 December 2014

Just one more sleep!


Time to decorate the card
Some Christmas music
Green card and adorable child
Stamped sentiment
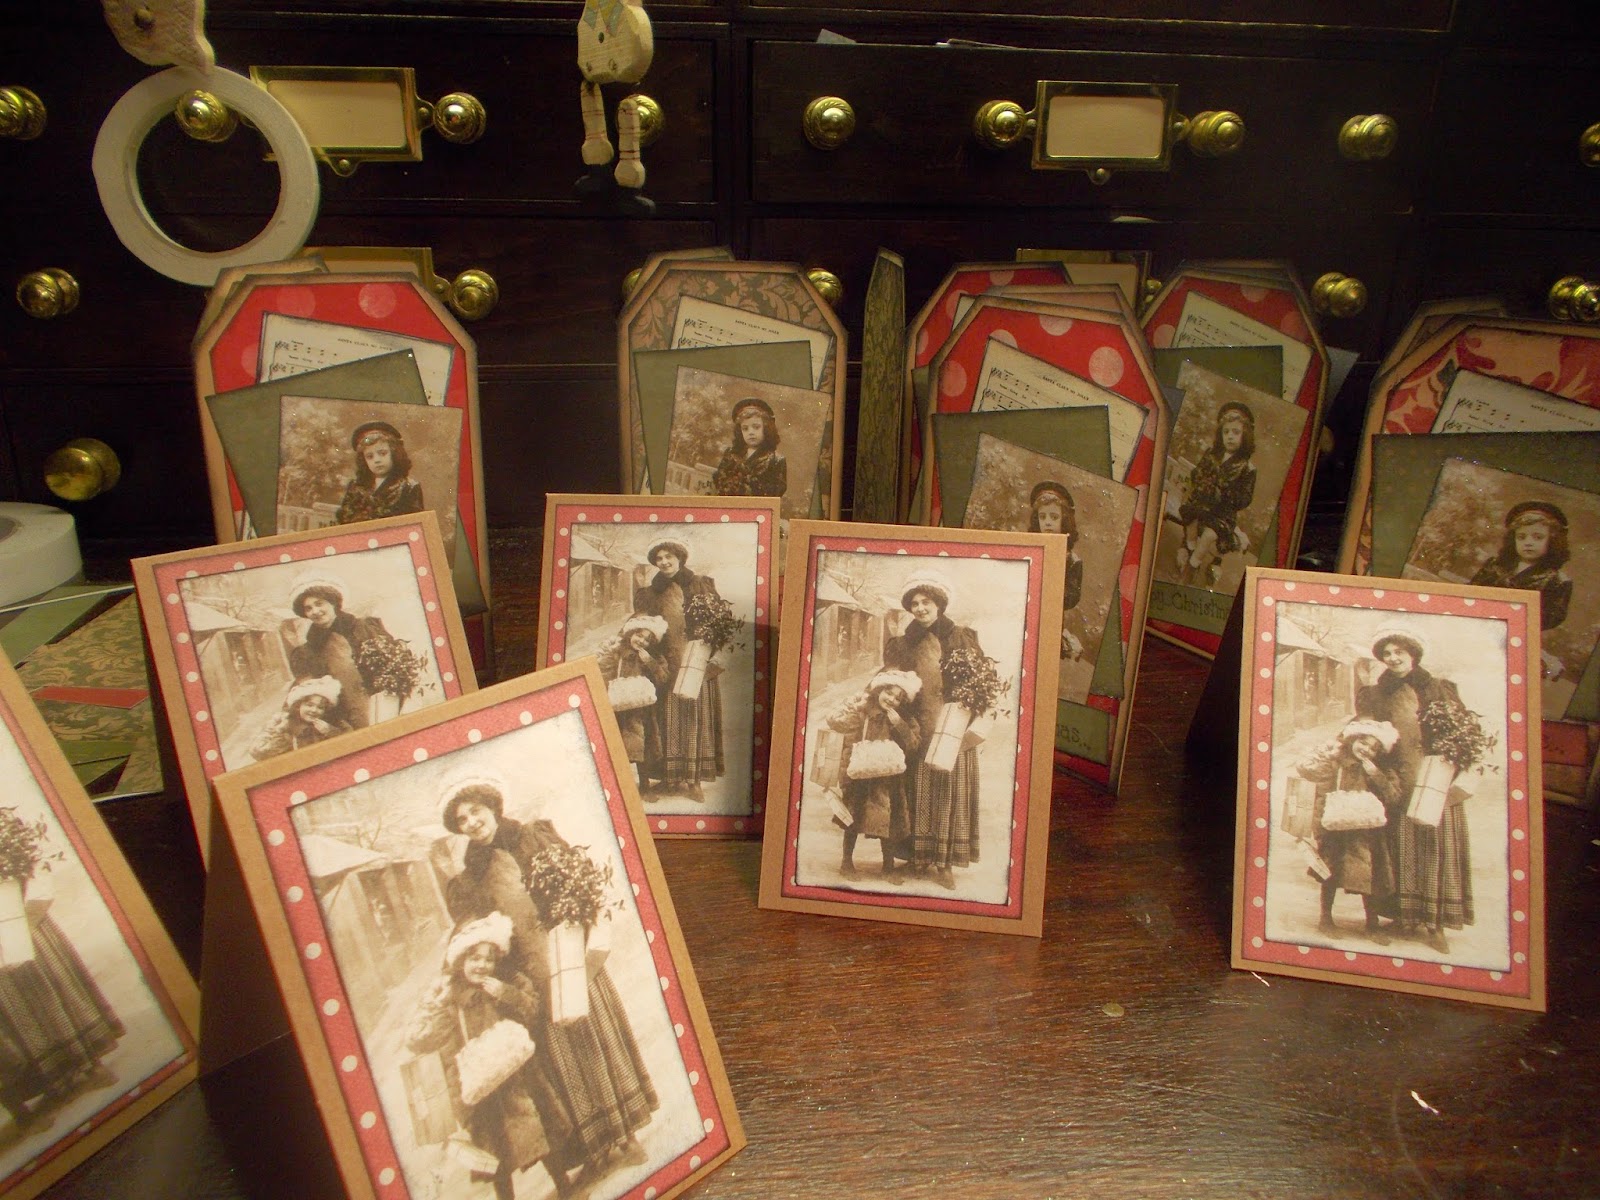
A greetings card made in the same way to go inside the tag card...., I made a few!

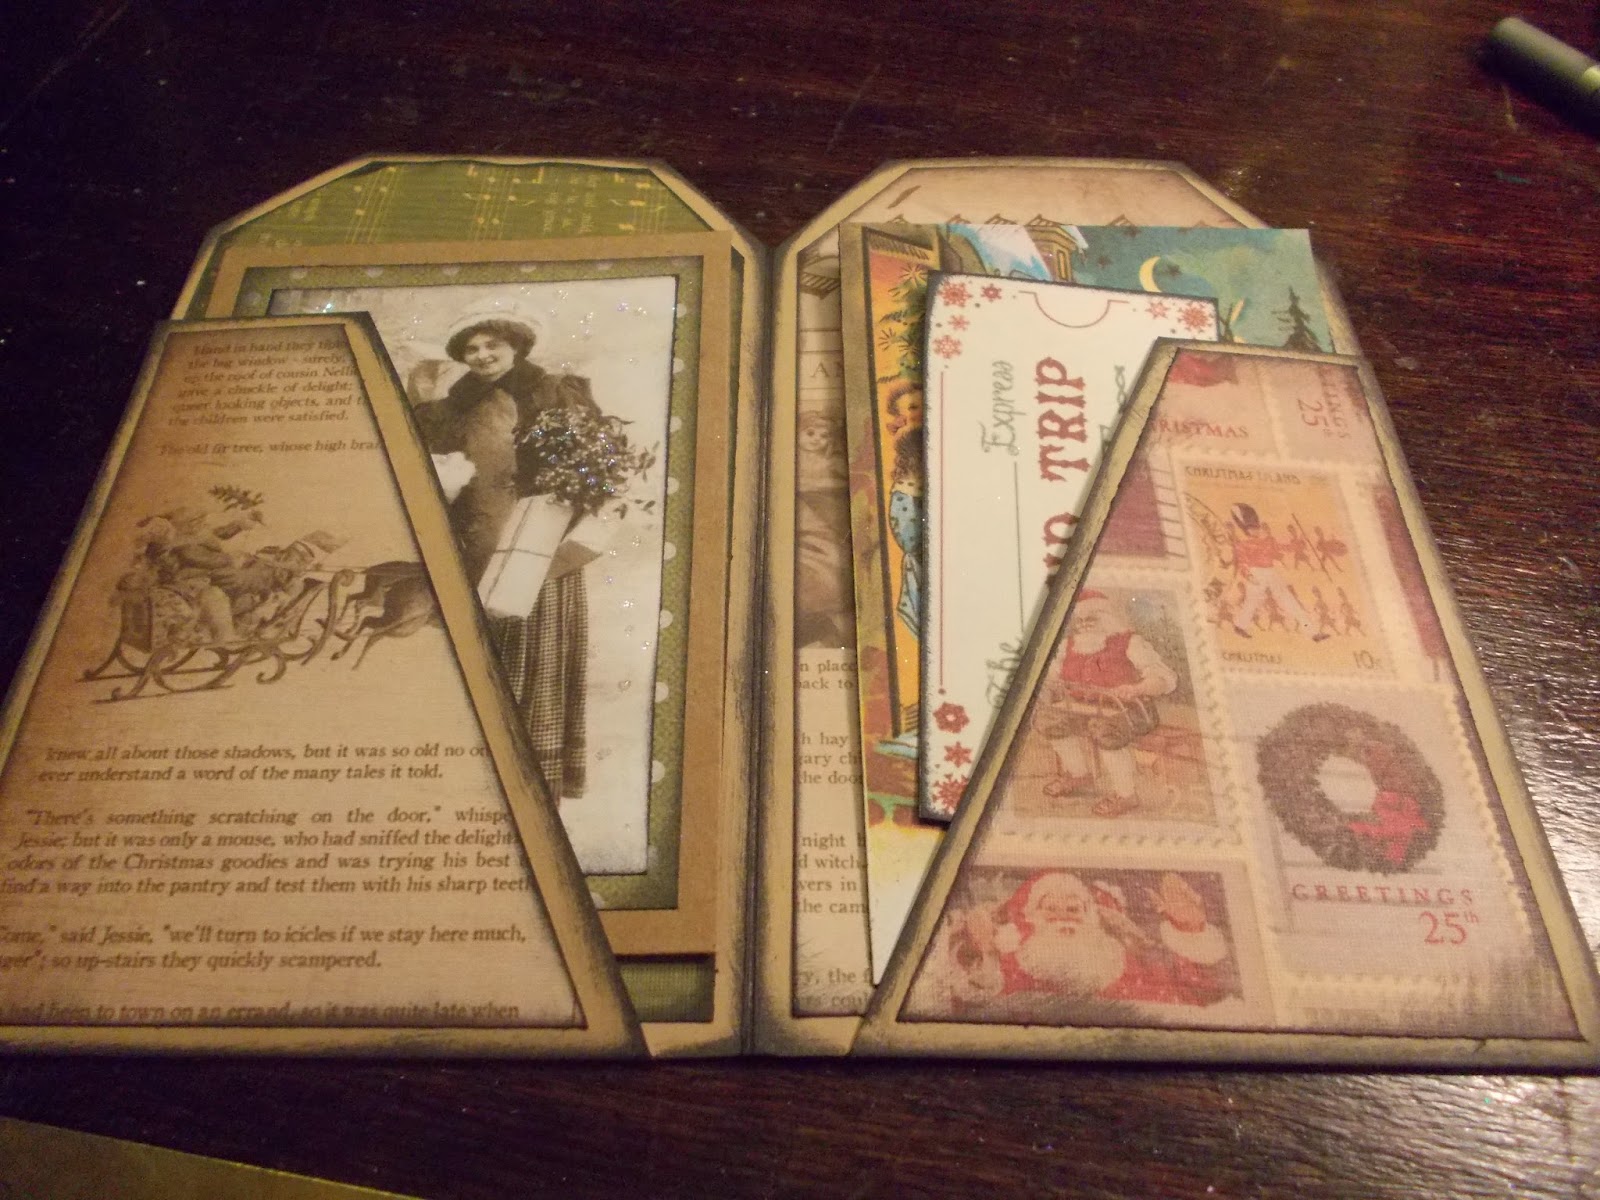
Fill with Christmas stuff
Tickets
A festive post card


Greetings cards, decorative tags and journaling spots. Girt vouchers. money! Whatever you like.
Well that is it from me, Have a wonderful Christmas and a splendid New Year. I will Blog in January when I have recovered!

Monday, 22 December 2014

On the 23rd of Christmas

So lets decorate. First you will need to make templates for the tag shape and the the flap shape. I made mine 2/8 smaller all the way round. Use waste paper and practice! Once you have created templates you are happy with, make them out of card, cereal packet is great for this. You will need four tag shape and two flaps shapes.


Do watch your paper orientation on these pieces.


Last day tomorrow x

Towty Two....., it's a family thing!

So now we need to make some hinges for the card, two are required.
Cut a strip of card 1 and 1/2 inch by short side of A4.
Cut this in half, 4 and 1/8 inch
Score at 3/4 inch
Fold and add double sided tape to the folds on both sides
Taper these hinges and add to the card, Line up with the bottom fold and the edge of the card.
Stick in place.

Sunday, 21 December 2014

Look what I have seen

Just a quick look at these wonderful ARTefact Advents done by the members of The Ephemera ETC Group


I think these are just wonderful, well done girls.

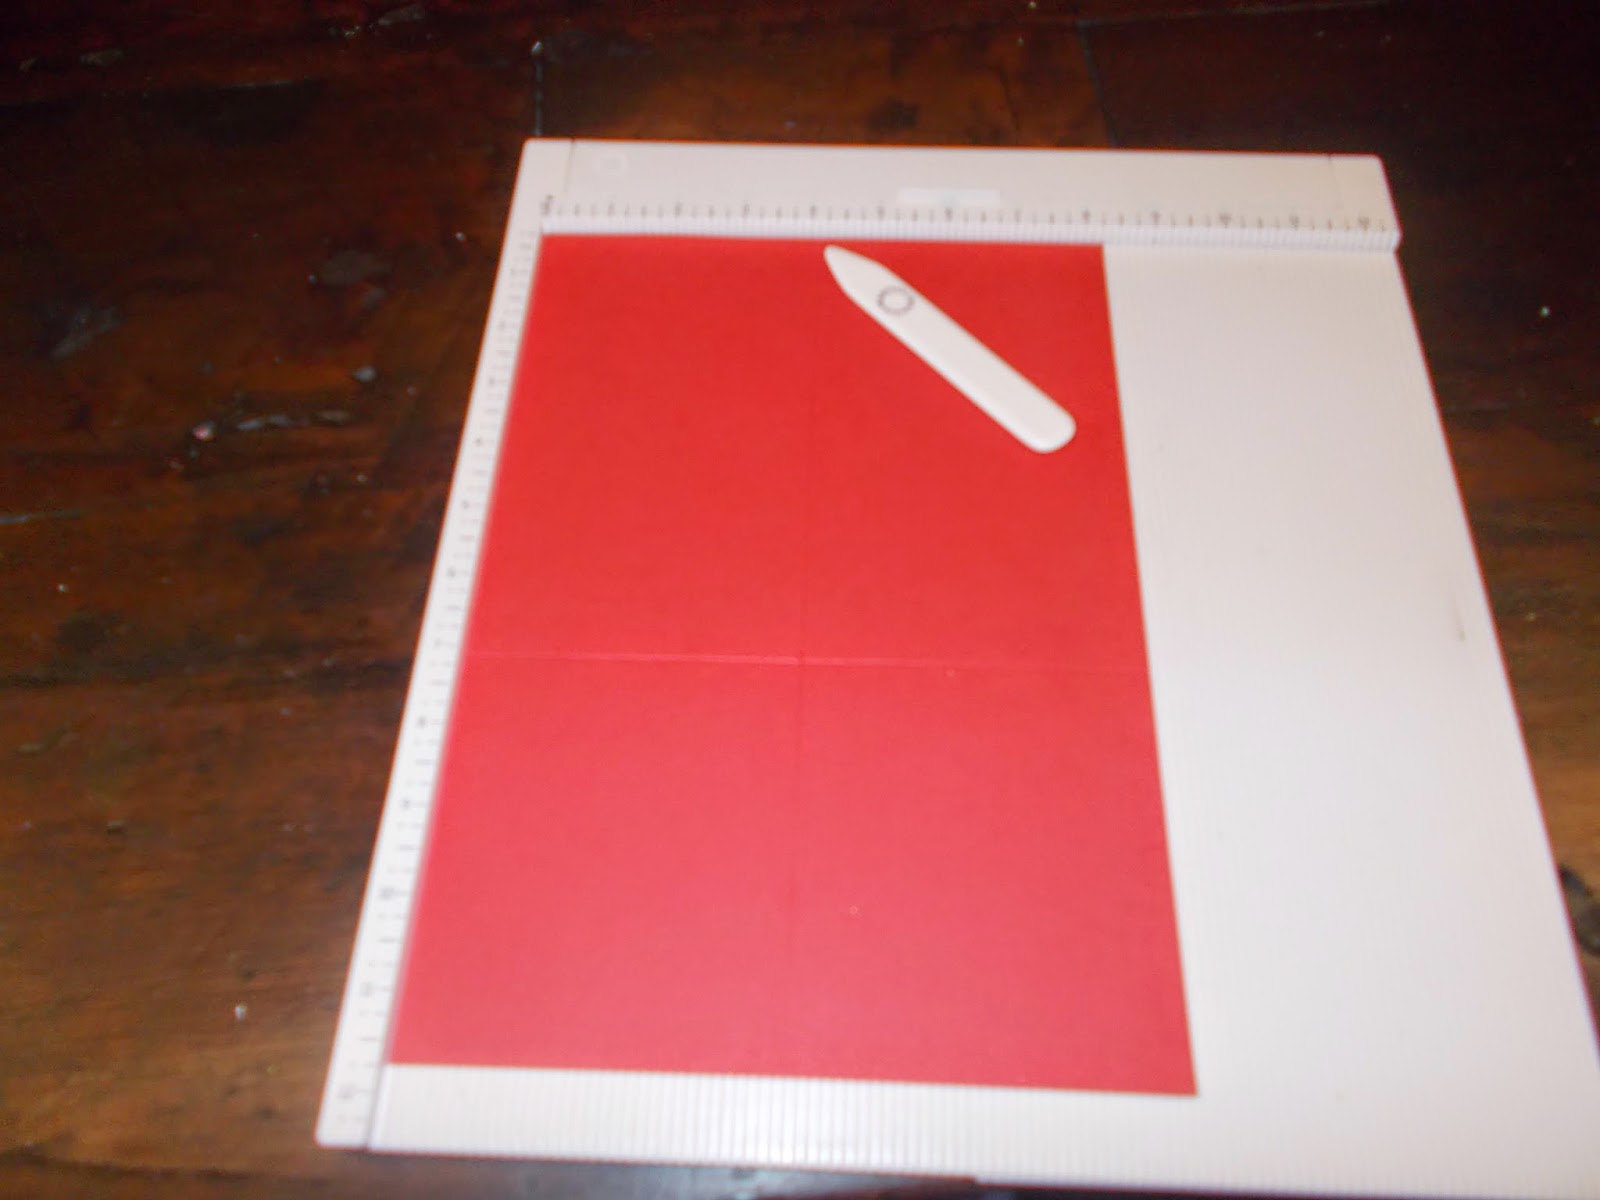
Now back to our Christmas tag card. On you score board, place your A4 paper down landscape. Then score at 7 inches,


 Turn your A4 sheet to portrait, and score at the middle, which is 4 and 1/8 of an inch


 On the lower segment of the card, at the bottom, mark 4/8th of an inch at either side of the middle score line. On the top create a mark 1 and 1/2 inch in from the outer edge. Join these lines as shown in the picture.
Cut this out
Fold the card in half , length ways, and cut off the top two corner to create the "tag top" look.


See you tomorrow. xx

Saturday, 20 December 2014

Day twenty and a little project!


This is a Christmas card I made for Ephemera Etc Group


I made a few.
And it has lots of "stuff" inside.

You will need, at least...,

One sheet of A4 card, I used a Kraft colour.
Decorative papers.
Christmas ephemera.
Glue stick
Double sided stick tape
Black ink pad.


OK off you go!

Friday, 19 December 2014

NNNNNNN 19th day of Christmas

And I want you to think about your journaling spots.., or, place to write!

There are so many ways of doing this, I have already shown you the wood and string method, but how about, paper, ruler and ink?

Select your paper which will fit your tag....,
With the edge of the ruler tap the ink pad.
Press the rulers edge to the paper.
You can you old ledger paper, pages out of an old journal all sorts of things.

I think we have really completed this advent calendar I will post some picture when I have filled it. I did say I was going to post until the 24th of December and I mean it, but for the last five days I will be showing you the cards I made for ARTefact group members.

Please send pictures of what you have created, and if you are local , come and join a group.

Thursday, 18 December 2014

The 18th...one more week to go, until the big day.

We are getting really close to finishing this puppy. Lets add a little decoration to the large pocket on the back.

As quite a few of you know I can not help myself when it comes to picking up random ephemeral stuff when out and about at car boots etc. Even part kits people want rid of.  These can be very useful.
Add Christmas images to the bottom corner of the large pocket. These images could also be from last years Christmas cards and gift wrap.
I just have to black the edges.
Add another picture and a sentiment, I think this need some foliage, which I can not find at the moment will show you when I do. x

Wednesday, 17 December 2014

It's getting so close now....!

One last small pocket to decorate,
Select a nice background paper. Black the edges.
Tim Holtz, bauble rubber stamp, and colour pencils.
Colour in and add a string.
Next is a rubber stamp of a skate.
Glue in place, I used tape.
Add a sentiment.
See you tomorrow. x


Monday, 15 December 2014

Ont the 16th day of Christmas....,

Yet another pocket to decorate. For this one I have used some Tim Holtz rubber stamps.

Stamp and colour an image. I have done quite a few of these, as you can see, but that is for another project.
Fussy cut them out.
And black the edges. Please note that was a Fabrico ink pad about twenty years ago, I just keep re-inking it with endorsing ink. You can pick that up at most stationers
Select some decorative paper for the back ground.
Stamp a sentiment.
And stick it all down on the pocket front.
I also used the little details from the original rubber stamp, just to add interest.
One more pocket front to do.